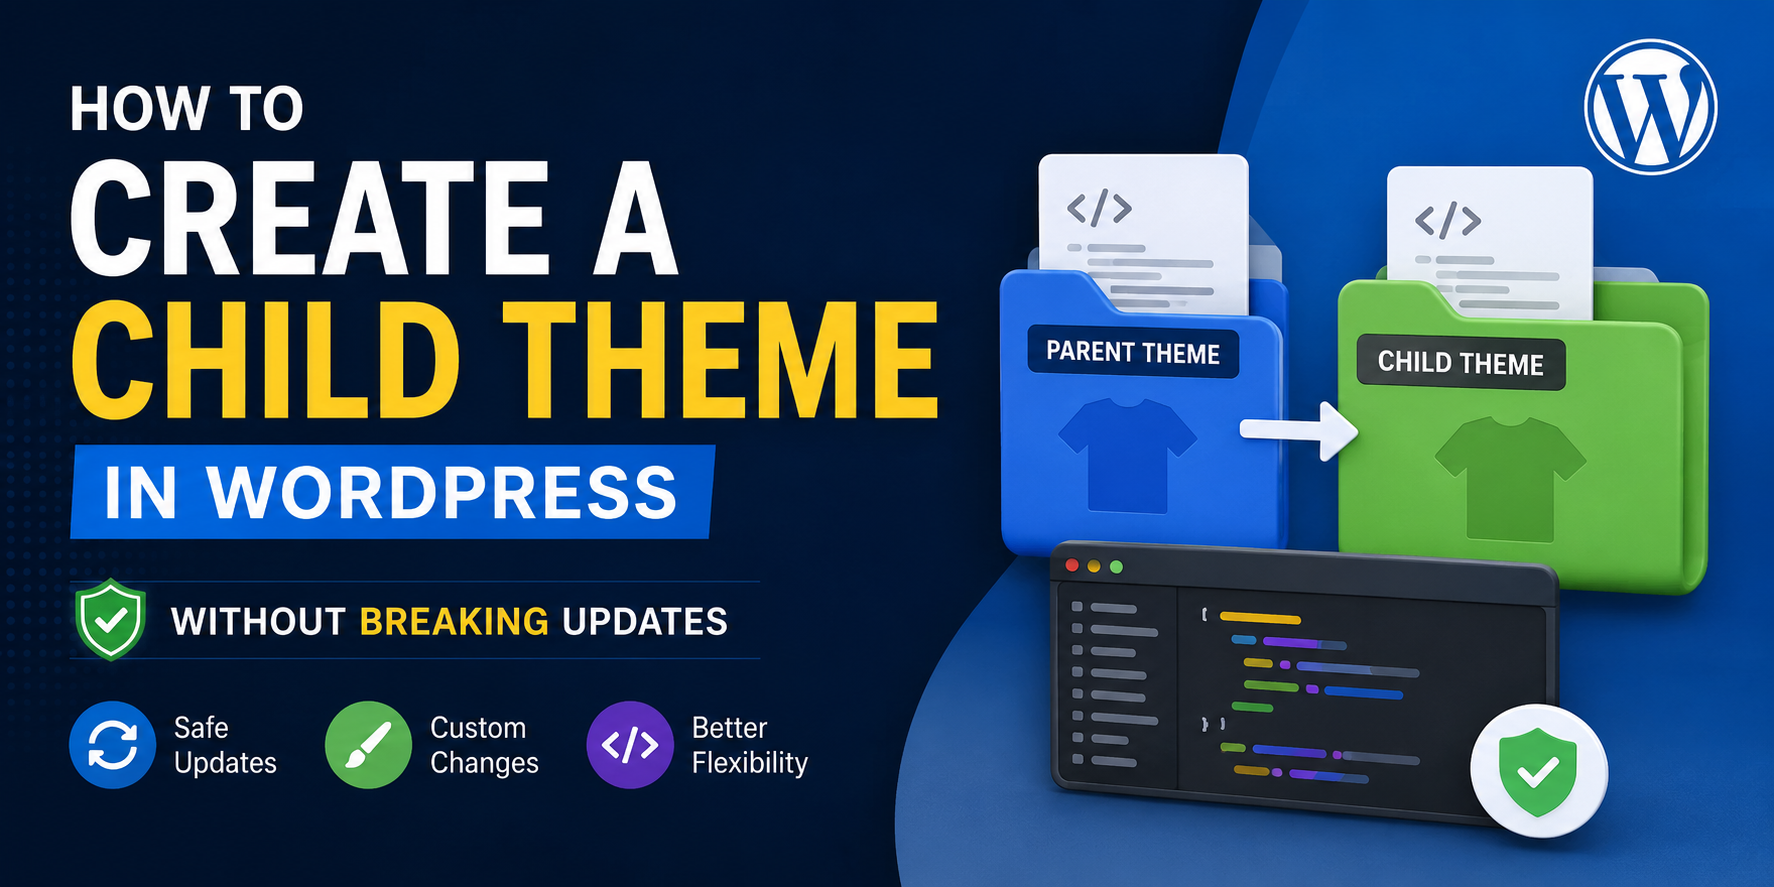
If you want to tweak a WordPress website, you almost always end up touching theme files. But editing the theme directly can be a bit of a trap, because when updates arrive.. your changes get overwritten. So the most steady option is to set up a child theme, yah know, the one thing that keeps your custom work safe.
In this guide i’ll walk you through how to create a WordPress child theme, why it matters , and how to tweak your site without losing everything during theme updates.
What is a Child Theme in WordPress?
A child theme is basically a separate theme that inherits the look and behavior of a parent theme. That means you can adjust things without touching the original files.
Why people like child themes
* Your customizations survive updates
* Maintenance feels way easier
* It’s safer for code trials and tests
* The parent theme stays clean and upgrade-friendly
* It helps when you need to debug later on
When should you create a child theme?
You should create a child theme when you plan to do things like:
* Change CSS styles
* Edit theme templates
* Add custom PHP functions
* Customize layouts and design bits
* Extend theme functionality, without messing with updates
If you’re only using the WordPress Customizer for quick edits, a child theme might not be required.
Step 1: Make the child theme folder
Login to your site via FTP or use your hosting File Manager.
Go to:
wp-content/themes/
Now create a new folder for the child theme.
Example:
astra-child
Replace “astra” with the name of your parent theme folder, it has to match what you actually use.
Step 2: Create the style.css file
Inside the child theme folder, create a file named:
style.css
Paste this:
/*
Theme Name: Astra Child
Template: astra
Version: 1.0
Description: Child theme for Astra
Author: Your Name
*/

body {
background-color: #ffffff;
}
Important note
The `Template` value should be 100% the same as the parent theme folder name. If it doesn’t match exactly, WordPress won’t connect the relationship.
Step 3: Create functions.php
Create a new file called:
functions.php
Add this code:
<?php
function my_child_theme_styles() {
wp_enqueue_style(
'parent-style',
get_template_directory_uri() . '/style.css'
);
}
add_action('wp_enqueue_scripts', 'my_child_theme_styles');
This loads the parent theme stylesheet first, so your child styles can take over or adjust after.
Step 4: Activate the child theme
Go to:
WordPress Dashboard → Appearance → Themes
You should now see the child theme in the list.
Hit:
Activate
Your site should look the same at first, because the child theme inherits everything from the parent.
Step 5: Customize without stress
Now you can change things without worrying that future updates will wipe your work.
Example: Add custom CSS
Put extra styles into the child theme `style.css` file:
.site-title {
color: #0073aa;
font-size: 36px;
}
Example: Add custom functions
Add extra PHP in `functions.php`:
function custom_footer_text() {
echo "Powered by WordPress";
}
Example: Override theme templates
Copy a template file from the parent theme into the child theme, then edit it.
Example:
Parent Theme:
wp-content/themes/astra/header.php

Child Theme:
wp-content/themes/astra-child/header.php
WordPress will load the child version before the parent one.
Common errors to avoid
1. Editing the parent theme directly
Those changes won’t last after updates. Only modify files in the child theme, that’s the rule.
2. Wrong Template name
The `Template` value must match the parent theme folder name exactly, no shortcuts.
3. Not activating it
Making the files is not the same as enabling it. You still need to activate the child theme in the dashboard.
4. Overriding too many files
Only override what you truly need to adjust. Otherwise maintenance becomes annoying , and troubleshooting gets harder.
Child theme vs Parent theme
| Feature | Parent Theme | Child Theme |
|---|---|---|
| Receives Updates | Yes | Inherits Updates |
| Stores Customizations | No | Yes |
| Safe for Modifications | No | Yes |
| Easy Maintenance | Limited | Excellent |
Helpful tools to generate child themes
Some plugins can automate most of the setup:
* Child Theme Configurator
* WP Child Theme Generator
* One-Click Child Theme
These are good if you don’t want to create everything by hand.
Best practices for WordPress child themes
* Back up your site before big changes
* Keep the parent theme updated regularly
* Test changes on a staging site first
* Leave notes in your custom code for later you
* Clean up unused customizations from time to time
Doing that keeps your WordPress setup secure, stable, and easier to manage.
Building a child theme is one of the safest approaches for customizing WordPress. It lets you alter CSS, templates, and functionality without losing your edits when the parent theme updates. Whether you’re doing small visual tweaks or building stronger custom features, a child theme gives you a cleaner workflow that feels more professional, and less risky.
Want to customize your WordPress site the safer way? Create a child theme today and start trying custom CSS, template overrides, and functionality changes without worrying about future updates. If you want to be extra careful, set up a staging environment before doing major modifications.