

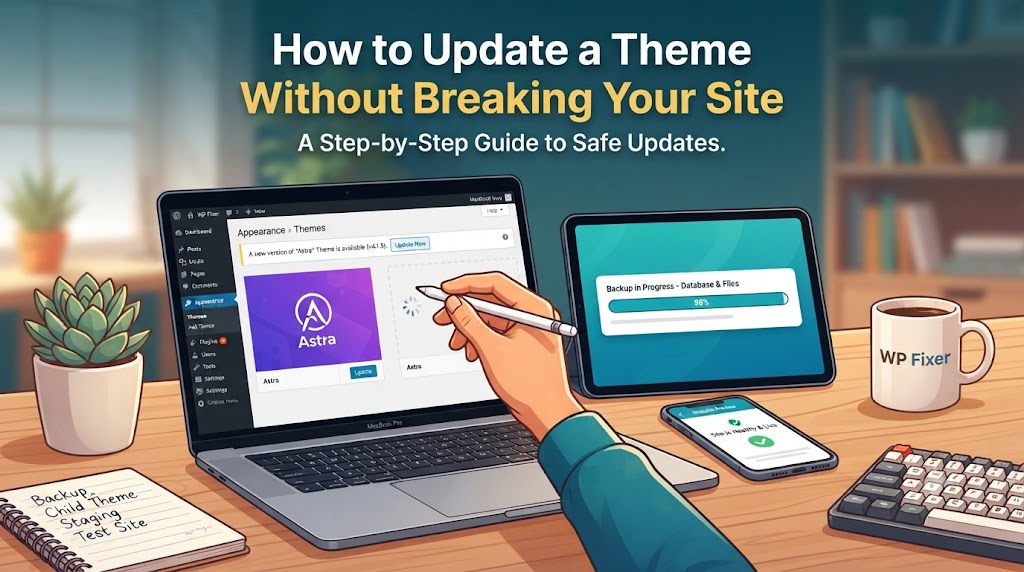
Updating your WordPress theme seems easy – you press “Update” and within a few seconds everything will be done.
However, it does not always work in such an easy way.
Many people face the same horror story – after the update, the home page layout goes bad, custom CSS is lost, plugins do not work anymore or you get an error message on your website. Usually, the problem is not in the update itself but in the lack of preparation before it.
The good news is that the theme update is not dangerous at all. With the proper procedure, you will be able to maintain your website safe, compatible and fast while keeping your changes intact.
In this guide, you will learn how to update a WordPress theme without destroying your website, what mistakes should be avoided and the right workflow used by professionals in this area.
Why Updating Your WordPress Theme Matters
Many people postpone theme updates because they fear breaking their website. Ironically, avoiding updates can create even bigger problems.
Regular theme updates provide:
- Better security
- Bug fixes
- Improved compatibility with WordPress
- Faster performance
- New features
- Better support for plugins
Running an outdated theme increases the risk of security vulnerabilities and compatibility issues, especially after WordPress core updates.
Think of theme updates like maintaining your car. Skipping maintenance may save time today, but it often leads to expensive repairs later.
What Can Go Wrong During a Theme Update?
Although most updates are straightforward, problems usually happen because websites have been customized incorrectly.
Common issues include:
- Lost design changes
- Broken layouts
- Plugin conflicts
- White screen of death
- Missing widgets
- Custom code disappearing
- PHP compatibility errors
Fortunately, almost every one of these problems is preventable.
Step 1: Create a Complete Website Backup
Before touching anything, create a full backup.
A proper backup includes:
- Website files
- WordPress database
- Themes
- Plugins
- Media uploads
If something goes wrong, you can restore the entire website within minutes.
Never assume your hosting company already has a recent backup. Always verify it yourself.
Step 2: Check the Theme Changelog
Professional theme developers publish a changelog for every update.
Review it carefully.
Look for information like:
- Bug fixes
- New features
- Security patches
- Breaking changes
- Removed functionality
Understanding what’s changing helps you identify potential risks before updating.
Step 3: Update WordPress Core First
Your website should generally follow this order:
- Update WordPress Core
- Update plugins
- Update the theme
This sequence reduces compatibility problems.
Running a brand-new theme on an outdated version of WordPress can create unnecessary issues.
Step 4: Use a Child Theme for Customizations
One of the biggest mistakes beginners make is editing the parent theme directly.
For example:
- Editing style.css
- Editing functions.php
- Editing template files
When the parent theme updates, all those changes disappear.
Instead, use a Child Theme.
A child theme safely stores your customizations while allowing the parent theme to update normally.
Example:
/*
Theme Name: My Child Theme
Template: twentytwentysix
*/
This simple approach protects your custom work forever.
Step 5: Update on a Staging Website First
Professional developers rarely update a live website immediately.
Instead, they use a staging environment.
A staging site is an exact copy of your live website where updates can be tested safely.
Benefits include:
- No downtime
- No risk to visitors
- Safe plugin testing
- Easier troubleshooting
If everything works correctly on staging, you can confidently update the live website.
Step 6: Test Plugin Compatibility
Themes and plugins work together.
Sometimes a theme update introduces changes that affect plugins.
Check critical functionality such as:
- Contact forms
- WooCommerce checkout
- Booking systems
- Membership areas
- Search functionality
- Login pages
Testing these features immediately after updating helps catch issues before visitors do.
Step 7: Clear All Caches
Many people think an update failed when they’re simply viewing cached files.
Clear:
- WordPress cache
- Browser cache
- CDN cache
- Server cache
Only then review your website.
This simple step solves many “broken website” reports.
Step 8: Test Your Website Thoroughly
Don’t stop after checking the homepage.
Review:
- Home page
- Blog posts
- Category pages
- Product pages
- Contact forms
- Mobile navigation
- Search results
- Checkout process
- Login system
Professional testing takes time, but it’s much faster than fixing production issues later.
Step 9: Verify Mobile Responsiveness
A desktop layout may appear perfect while the mobile version breaks completely.
Check:
- Navigation menus
- Images
- Buttons
- Forms
- Typography
- Spacing
Since most traffic now comes from mobile devices, this step is essential.
Step 10: Check Website Performance
Some updates introduce:
- Larger CSS files
- Additional JavaScript
- New fonts
- Extra animations
Measure your website speed after updating.
Review:
- Largest Contentful Paint (LCP)
- Total Blocking Time (TBT)
- First Contentful Paint (FCP)
- Core Web Vitals
If performance drops, investigate before assuming the update is successful.
Example: Updating a Theme from the WordPress Dashboard
Updating a theme is straightforward once you’ve completed the preparation.
- Log in to WordPress.
- Navigate to Dashboard → Updates.
- Review available theme updates.
- Click Update Themes.
- Wait for the process to finish.
- Test your website thoroughly.
Updating only takes a minute—but preparation makes all the difference.
Example Code: Adding Custom CSS the Right Way
Instead of editing the parent theme directly, add custom CSS through a child theme or the WordPress Customizer.
.site-header {
    background-color: #ffffff;
    padding: 20px;
}

.main-navigation a {
    font-weight: 600;
}
Keeping custom styles separate ensures they survive future updates.
Common Mistakes That Break WordPress Sites
Editing Parent Theme Files
This is the most common mistake.
Every update replaces the parent theme files completely.
Ignoring Backups
Many website owners only realize backups are missing after something goes wrong.
Always create one first.
Updating Everything at Once
Updating WordPress, plugins, PHP, and themes simultaneously makes troubleshooting much harder.
Update one component at a time whenever possible.
Skipping Testing
Some issues only appear:
- On mobile devices
- During checkout
- Inside contact forms
- For logged-in users
Testing only the homepage isn’t enough.
Using Outdated Plugins
Sometimes the theme isn’t responsible.
An outdated plugin may be incompatible with the latest theme version.
Always keep plugins updated as well.
Real-World Scenario
Imagine an online store running an older WordPress theme.
The owner clicks Update without creating a backup.
Immediately afterward:
- Product pages lose formatting.
- Checkout buttons disappear.
- The custom homepage breaks.
- Mobile navigation stops working.
A few hours later, sales begin to decline.
Now imagine the same update using a staging website.
Every issue appears safely on the staging copy.
The developer fixes plugin conflicts, tests checkout, clears the cache, and only then updates the live website.
Visitors never notice a problem.
That’s the difference a proper workflow makes.
Best Practices for Safe Theme Updates
Follow this checklist every time:
✔ Create a complete backup
✔ Read the changelog
✔ Update WordPress first
✔ Test plugin compatibility
✔ Use a child theme
✔ Update on staging
✔ Clear all caches
✔ Test desktop and mobile
✔ Measure website performance
✔ Monitor the website after launch
This process takes a little extra time but prevents hours of troubleshooting.
Frequently Asked Questions
How often should I update my WordPress theme?
Check for updates regularly and install important security or compatibility updates as soon as practical after testing them.
Will updating my theme delete my content?
No. Posts, pages, and media remain safe.
However, direct edits made to the parent theme can be lost.
Should I always use a child theme?
Yes.
If you plan to customize your theme in any way, a child theme is considered best practice.
Can I roll back a theme update?
Yes.
If you’ve created a backup, restoring the previous version is straightforward.
Some backup plugins also provide one-click restoration.
Final Thoughts
Updating your WordPress theme shouldn’t feel stressful.
Most update failures happen because important preparation steps are skipped—not because the update itself is faulty.
The safest approach is simple:
Back up your website, test updates on a staging environment, use a child theme for customizations, verify plugin compatibility, and thoroughly review your site before considering the job finished.
These habits may add a few extra minutes to your workflow, but they can save hours of debugging and protect your business from unnecessary downtime.
A well-maintained WordPress website is faster, more secure, and far easier to manage over the long term.
What’s Next? (CTA)
Before installing your next WordPress theme update:
- Create a full backup.
- Test the update on a staging site.
- Use a child theme for all customizations.
- Verify forms, checkout pages, and mobile layouts.
- Check website speed and Core Web Vitals after updating.
Following this process every time will help you update your WordPress theme confidently while keeping your website secure, responsive, and fully functional.