AI has been transforming how web platforms develop and distribute their content. From blog posts to amazing images, there is no end to what can be created by AI. The most fascinating application of AI is in image generation, where one creates beautiful images by giving textual commands to AI.
The best way for a WordPress developer to incorporate AI image generation on websites he develops is via custom plugins developed with the help of the WordPress AI Client. This way, you will not lose control over the functionality of the website and will still get all the benefits offered by AI technology.
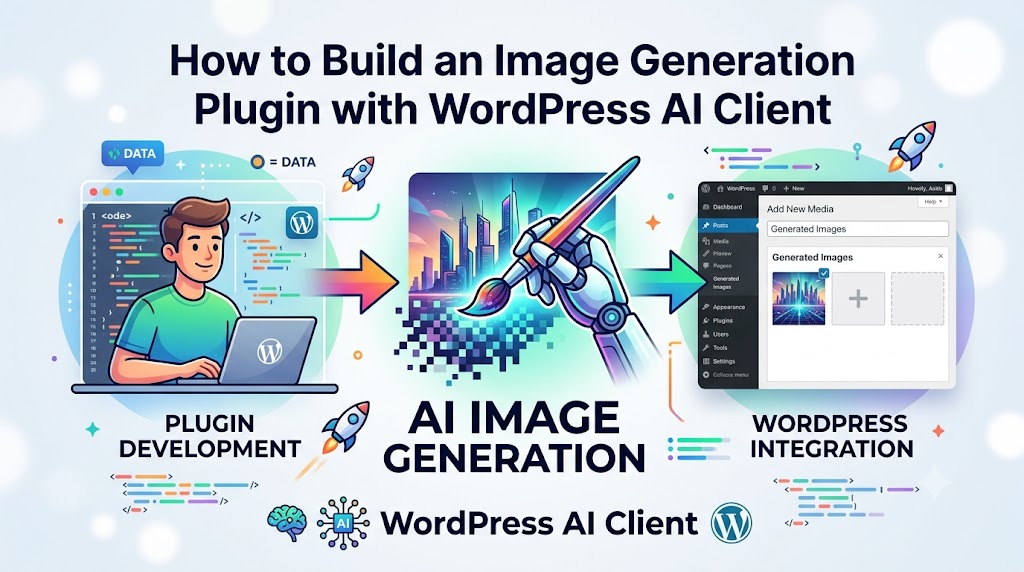
This article is dedicated to explaining in detail how to make an Image Generation Plugin with WordPress AI Client. You will learn everything from scratch, including plugin creation and AI integration, UI development, making image generation requests, storing images, etc.
After reading this guide carefully, you will be able to create and use an Image Generation Plugin in WordPress yourself.
Why Build an AI Image Generation Plugin for WordPress?
But before we discuss the development process, let’s see why this function is gaining more popularity.
- The website owners may require:
- Featured images for blog articles
- Marketing graphics
- Graphics for social media accounts
- Product mock-ups
- Custom illustrations
Using an AI-powered plugin for image generation makes the process of creating images right from the WordPress dashboard.
Advantages are as follows:
- Increased productivity
- Cost-effective design
- Efficiency in work flow
- Uniqueness in image generation
- Personalized content
For agencies and SaaS companies, this feature may serve as an additional paid service.
What You’ll Need Before You Start
Make sure you have the following requirements ready:
Prerequisites
- WordPress installation
- Administrator access
- Basic PHP knowledge
- JavaScript understanding
- WordPress plugin development experience
- Access to a WordPress AI Client setup
- AI API credentials
Recommended development environment:
- PHP 8.1+
- WordPress 6.5+
- LocalWP or XAMPP
- VS Code
Step 1: Create the Plugin Structure
Start by creating a new plugin folder inside your WordPress plugins directory.
wp-content/
└── plugins/
    └── ai-image-generator/
        ├── ai-image-generator.php
        ├── assets/
        │   ├── js/
        │   └── css/
        ├── includes/
        └── templates/
Create the main plugin file:
<?php
/**
 * Plugin Name: AI Image Generator
 * Description: Generate AI images using WordPress AI Client.
 * Version: 1.0
 * Author: Your Name
 */

if (!defined('ABSPATH')) {
    exit;
}
Activate the plugin from the WordPress admin panel.
At this stage, you have a basic plugin framework ready.
Step 2: Register an Admin Menu
Next, create a dedicated page where users can generate images.
Add the following code:
add_action('admin_menu', 'aig_add_admin_menu');

function aig_add_admin_menu() {
    add_menu_page(
        'AI Image Generator',
        'AI Images',
        'manage_options',
        'ai-image-generator',
        'aig_admin_page',
        'dashicons-format-image'
    );
}

function aig_admin_page() {
    include plugin_dir_path(__FILE__) . 'templates/admin-page.php';
}
This creates a new menu item called AI Images in the WordPress dashboard.
Step 3: Build the User Interface
Now let’s create a simple image generation form.
Inside templates/admin-page.php:
<div class="wrap">
    <h1>AI Image Generator</h1>

    <textarea
        id="imagePrompt"
        rows="5"
        cols="70"
        placeholder="Describe the image you want..."
    ></textarea>

    <br><br>

    <button id="generateImage" class="button button-primary">
        Generate Image
    </button>

    <div id="imageResult"></div>
</div>
The interface remains intentionally simple because users value speed and clarity when generating images.
Example Prompt
A futuristic city skyline at sunset with flying cars,
ultra-realistic, cinematic lighting.
The more detailed the prompt, the better the generated image quality.
Step 4: Enqueue JavaScript Files
Create a JavaScript file for handling AJAX requests.
In your main plugin file:
add_action('admin_enqueue_scripts', 'aig_enqueue_scripts');

function aig_enqueue_scripts() {
    wp_enqueue_script(
        'aig-script',
        plugin_dir_url(__FILE__) . 'assets/js/script.js',
        ['jquery'],
        null,
        true
    );

    wp_localize_script(
        'aig-script',
        'aig_ajax',
        [
            'ajax_url' => admin_url('admin-ajax.php'),
            'nonce' => wp_create_nonce('aig_nonce')
        ]
    );
}
This makes AJAX communication possible between the browser and WordPress.
Step 5: Connect to the WordPress AI Client
Now comes the exciting part: generating images through AI.
Create an AJAX endpoint:
add_action('wp_ajax_generate_ai_image', 'generate_ai_image');

function generate_ai_image() {

    check_ajax_referer('aig_nonce', 'nonce');

    $prompt = sanitize_text_field($_POST['prompt']);

    $response = wp_remote_post(
        'YOUR_AI_ENDPOINT',
        [
            'headers' => [
                'Authorization' => 'Bearer API_KEY',
                'Content-Type' => 'application/json'
            ],
            'body' => json_encode([
                'prompt' => $prompt,
                'size' => '1024x1024'
            ])
        ]
    );

    wp_send_json_success(
        json_decode(
            wp_remote_retrieve_body($response),
            true
        )
    );
}
This endpoint receives a prompt, sends it to the AI service, and returns the generated image data.
Step 6: Handle the Frontend Request
Now create the JavaScript functionality.
Inside assets/js/script.js:
jQuery(document).ready(function ($) {

    $('#generateImage').on('click', function () {

        let prompt = $('#imagePrompt').val();

        $.post(
            aig_ajax.ajax_url,
            {
                action: 'generate_ai_image',
                prompt: prompt,
                nonce: aig_ajax.nonce
            },
            function (response) {

                if (response.success) {

                    $('#imageResult').html(
                        '<img src="' +
                        response.data.image_url +
                        '" width="500">'
                    );

                }
            }
        );

    });

});
Now users can submit prompts and receive AI-generated images without reloading the page.
Step 7: Save Generated Images to the Media Library
A major usability improvement is automatically storing generated images inside WordPress.
Use:
require_once(ABSPATH . 'wp-admin/includes/file.php');
require_once(ABSPATH . 'wp-admin/includes/media.php');
require_once(ABSPATH . 'wp-admin/includes/image.php');
Download the image:
$image_url = $response_data['image_url'];

$tmp = download_url($image_url);

$file_array = [
    'name' => 'generated-image.jpg',
    'tmp_name' => $tmp
];

$attachment_id = media_handle_sideload(
    $file_array,
    0
);
Benefits include:
- Easy image management
- SEO-friendly image URLs
- Media library organization
- Future image editing support
This creates a seamless WordPress experience for users.
Step 8: Improve the User Experience
A professional plugin should provide visual feedback.
Add a loading indicator:
$('#imageResult').html(
    '<p>Generating image...</p>'
);
You can also include:
- Progress indicators
- Prompt history
- Image regeneration
- Download buttons
- Favorite images
These enhancements make the plugin feel polished and production-ready.
Step 9: Add Security Best Practices
Security should never be overlooked when working with AI APIs.
Always:
Validate User Input
sanitize_text_field($prompt);
Verify Nonces
check_ajax_referer();
Escape Output
esc_url();
Limit Requests
Consider implementing:
transient rate limiting
to prevent abuse and unnecessary API expenses.
A secure plugin protects both your users and your AI budget.
Step 10: Optimize for Performance
AI image generation can be resource-intensive.
Here are proven optimization techniques:
Cache Results
Store previously generated images for repeated prompts.
Compress Images
Use WordPress image optimization plugins.
Queue Requests
For high-traffic websites, process image generation asynchronously.
Lazy Load Images
Improve dashboard performance by loading images only when needed.
These improvements become increasingly important as your plugin scales.
Real-World Use Cases
Here are some practical examples of how businesses can use an AI image generation plugin.
Content Marketing
Generate featured images for blog posts instantly.
E-Commerce
Create product lifestyle mockups.
Social Media
Produce platform-specific graphics.
Agencies
Offer AI-powered design services to clients.
Educational Websites
Generate custom diagrams and illustrations.
The possibilities continue expanding as AI image models improve.
Example Workflow
Let’s see the complete process in action.
User Prompt
A modern coffee shop interior with warm lighting,
professional photography style.
Plugin Workflow
- User enters prompt.
- AJAX request is sent.
- WordPress AI Client receives request.
- AI model generates image.
- Image URL is returned.
- Plugin displays image.
- Image is saved to Media Library.
- User downloads or uses the image.
This workflow can take less than 30 seconds from prompt to final image.
Common Challenges and Solutions
Slow Generation Times
Use asynchronous processing and loading indicators.
API Errors
Log responses and provide user-friendly messages.
Large Storage Usage
Automatically compress and optimize generated images.
Poor Image Quality
Encourage detailed prompts and prompt templates.
Addressing these challenges early improves long-term reliability.
SEO Benefits of AI Image Generation
Many developers overlook the SEO value of generated images.
Benefits include:
- Unique image assets
- Improved engagement metrics
- Better social sharing visuals
- Reduced duplicate image usage
- Enhanced content relevance
Remember to automatically generate:
- Alt text
- Image titles
- Captions
- File names
based on the user’s prompt.
This creates a stronger SEO foundation for every generated image.
Conclusion
Building an Image Generation Plugin with WordPress AI Client is an excellent way to bring AI-powered creativity directly into the WordPress dashboard. By combining WordPress plugin development best practices with modern AI image generation capabilities, you can create a tool that saves time, improves content workflows, and delivers significant value to website owners.
The process involves creating a custom plugin structure, building a user-friendly interface, connecting to the AI service, handling AJAX requests, storing generated images in the media library, and implementing proper security and performance optimizations. Once complete, you’ll have a scalable solution capable of generating unique, high-quality visuals on demand.
As AI technology continues to evolve, plugins like this will become an essential part of modern WordPress websites, helping businesses create engaging visual content faster than ever before.
Next Steps: Start Building Your Plugin Today
Ready to create your own AI-powered image generation plugin?
Start by setting up a local WordPress development environment, create the plugin structure outlined in this guide, and connect it to your preferred AI image generation service. Once the core functionality is working, experiment with advanced features such as prompt templates, image styles, user quotas, and media library automation.
The sooner you start building, the sooner you’ll have a powerful AI image generation solution that can enhance your WordPress projects and deliver real value to your users.