Recent trends in web application development suggest that creating just one application page no longer qualifies as a “modern web application”. Today, it is more common than ever to create web apps that provide an experience of many pages and with structured architecture that makes them resource-intensive, SEO optimised, and very fast. If you want to create a complete web app, you’ll see that Multi-Page Applications (MPA’s) have remained relevant and essential for development in 2026.
In the guide, you will learn how to create an MPA using Next.js. You will learn how to set up your MPA, create your routes, configure navigation, and deploy your app. This guide aims to provide you with everything you need as a beginner or someone who has experience using other traditional web frameworks.
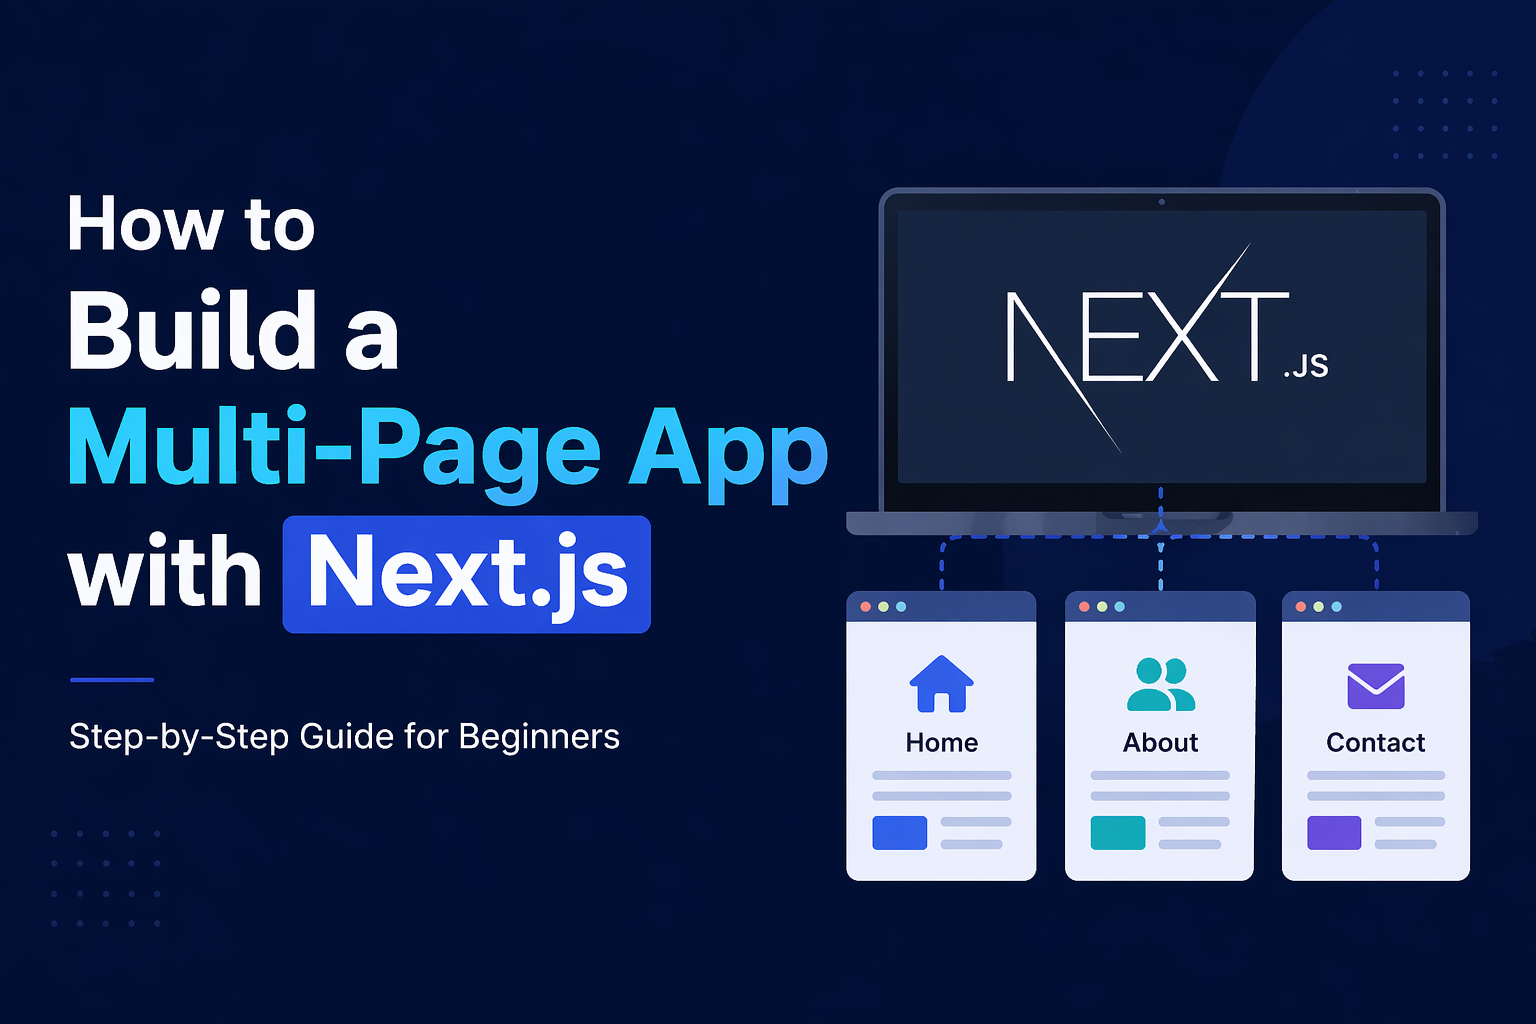
What Is A Multi-Page Application (MPA)?
An MPA is an application in which a new HTML page will be generated for each route. Unlike a Single Page Application (SPA), MPAs have the following advantages:
- Better for Search Engine Optimisation (SEO).
- Easily Scalable, page by page
- Ideal for content heavy websites (i.e., e-commerce sites, blogs, etc.).
Next.js offers all of the benefits of both Single and Multi Page Applications, including:
- Server-side rendered pages (SSR).
- Static generated pages (SSG)
- File-based routing.
Requirements
Prior to getting started with this tutorial, you will first need to:
- Have a basic knowledge of JavaScript
- Have a working knowledge of React
- Have Node.js installed on your computer.
Step 1: Set up a New Project in Next.js
You will want to use the official start kit to bootstrap your application.
npx create-next-app@latest my-multi-page-app
cd my-multi-page-app
npm run dev
You will be able to view your application running by going to http://localhost:3000.
Step 2: Be Familiar with the Structure of Your Application
Your application will use a file-based routing system.
The following folders are available:
- /app – New routing system (App Router)
- /pages – Previous routing system (optional)
- /components – UI components that can be reused
- /public – Static assets
In 2026, the preferred way to create a route is the App Router (/app).
Step 3: Creating Multiple Pages for Your Application
You can create separate directories for each page inside of the /app directory.
Sample project structure:
/app
/about
page.tsx
/contact
page.tsx
page.tsx (home)
Example of what your home page would look like
export default function Home() {
return <h1>My Multi-Page Application</h1>;
}
Example of what your about page would look like
export default function About() {
return <h1>About
to our application</h1>;
}
Each page.tsx will create a route automatically
/ is your home page
/about is your about page
Step 4: Add Navigation Between Pages
Next.js includes built-in navigation through the use of Link.
Example Navigation Component:
import Link from 'next/link';

export default function Navbar() {
return (
<nav>
<Link href="/">Home</Link> |
<Link href="/about">About</Link> |
<Link href="/contact">Contact</Link>
</nav>
);
}
This allows for navigation to happen on the client-side, which makes transitioning from one page to the next much faster.
Step 5: Create a Shared Layout
Instead of creating multiple UI copies (such as a header/footer) by using layouts.
Example: layout.tsx
import Navbar from '../components/Navbar';

export default function RootLayout({ children }) {
return (
<html>
<body>
<Navbar />
{children}
</body>
</html>
);
}
Layouts will provide uniformity across all forms.
Step 6: Styling
You can style your application using CSS Modules, Global CSS or Tailwind CSS.
Below is one example of how to utilize a CSS module to style the title in the page.
css
.title {
color: blue;
font-size: 24px;
}
typescript
import styles from './page.module.css';

export default function Home() {
return <h1 className={styles.title}>Styled Page</h1>;
}
Step 7: Fetching Page Data
Next.js supports fetching data from the server side as well as from the client side (via static generation).
Example: Fetching data from the server side using a Server Component.
async function getData() {
const res = await fetch('https://api.example.com/data');
return res.json();
}

export default async function Page() {
const data = await getData();
return {data.title}
}
Every page can fetch its own data separately.
Step 8: Optimizing for Search Engines
Multi-page applications are very effective when it comes to SEO.
The following example shows how to add metadata to the site.
export const metadata = {
title: 'About Page',
description: 'Learn More About Us'
}
The above metadata will enable the page(s) to rank better on search engines.
Step 9: Building Dynamic Routes
It is simple to create dynamic pages in Next.js.
Example:
/app/blog/[slug]/page.tsx
export default function Blog({params}) {
return Post: {params.slug}
}
The URL would appear in the following way: /blog/my-first-post
Step 10: Deploy your application
Vercel is the easiest way to deploy Next.js apps.
Three steps:
- Push code to GitHub
- Connect GitHub repository to Vercel
- Click deploy
Within minutes, your app will be live!
Best Practices for Multi-page Applications
- Use layouts for shared UI.
- Keep components reusable.
- Optimize images and assets.
- Use Typescript for more safety.
- Break large pages into smaller components.
Common Mistakes to Avoid
- Mixing /page and /app unnecessarily.
- Not using SEO metadata.
- Not using layouts appropriately.
- Overloading pages with too much logic.
It’s easy and simple to create a multi-page application when using Next.js!
Quick Takeaways
- File-based routing will allow for an easy way to navigate around within your application.
- Layouts can maintain the consistency of elements on different pages.
- Search Engine Optimization (SEO) is built-in and helps search engines to find your site/application.
- Dynamic Routing permits you to create a large scalable application.
Now that you have learned how to create a multi-page application with Next.js you should:
- Create a 3-page application with the following pages: Home, About, Contact.
- Add a navigation system between the pages and a shared layout between all three pages.
- Use Vercel for deploying your application.