Creating a WordPress site straight on a live server can be pretty risky. Just one little blunder could break your site, harm visitors, or lead to data loss. This is why pros use a local WordPress dev environment before they alter anything live.
With a local setup, you can run WordPress on your computer without buying hosting or a domain name. It lets you test out themes, plugins, code, and designs safely before going live.
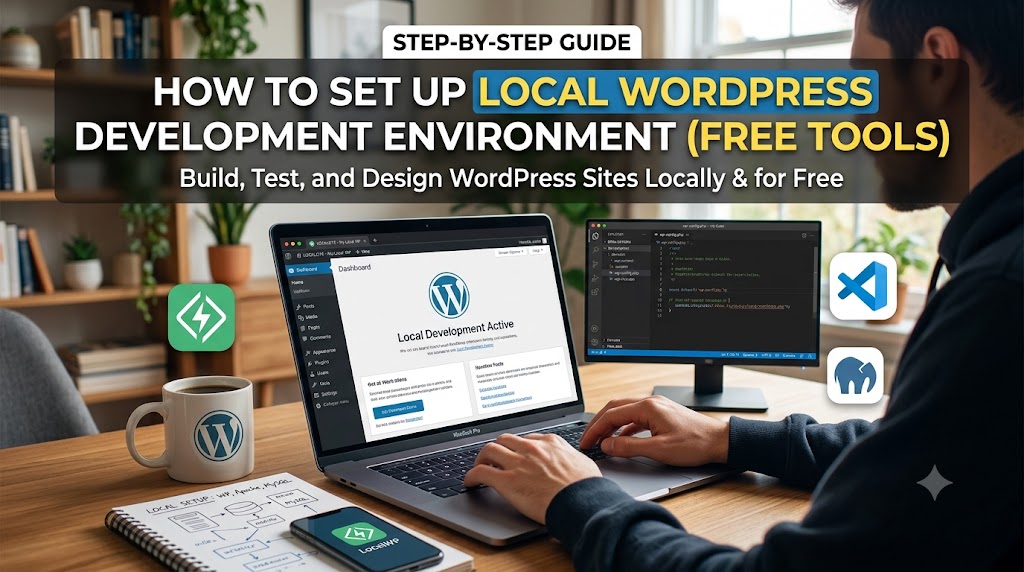
This guide teaches you to set up a local WordPress dev space with free tools. If you’re a newbie to WordPress or a pro building sites for clients, this tutorial will help you get started fast.
A local WordPress development environment lets WordPress run on your computer, not some web hosting server. This setup needs three main parts: a web server (like Apache or Nginx), a database server (MySQL or MariaDB), and PHP.
Having these tools gives you an exact replica of a real WordPress site. So, you can safely test changes, develop sites without being online, and make performance tweaks before launch. Plus, you can mess around with different plugins and themes and avoid hosting fees while learning WordPress. It’s great for speeding up client projects too.
What Is a Local WordPress Development Environment?
A local WordPress development environment lets WordPress run on your computer, not some web hosting server. This setup needs three main parts: a web server (like Apache or Nginx), a database server (MySQL or MariaDB), and PHP.
Having these tools gives you an exact replica of a real WordPress site. So, you can safely test changes, develop sites without being online, and make performance tweaks before launch. Plus, you can mess around with different plugins and themes and avoid hosting fees while learning WordPress. It’s great for speeding up client projects too.
Free Tools You Can Use
There are several free tools to make a local WordPress environment, and some are easier for newbies than others.
Option 1: Local WP (Recommended)
Local WP is one of the easiest tools out there.
It lets you install WordPress with just a click, has a simple interface, and automatically sets up PHP and the database. Plus, it supports SSL and fast site building.
Option 2: XAMPP
XAMPP is an open-source choice that comes with Apache, MySQL, PHP, and phpMyAdmin.
Users get more control, though they have to set it up by hand.
Option 3: WAMP
WAMP is perfect for Windows folks as it gives them a full local server setup.
Option 4: MAMP
MAMP is great for both macOS and Windows users looking for something flexible.
We’ll go with Local WP since it’s the best for those just starting out.
Step 1: Download and Install Local WP
To get Local WP, visit the Local WP website and download the version that works with your OS.
The install is quick and easy. First, grab the installer, then run it. Follow the setup wizard’s instructions, and once installation is done, launch Local WP.
Screenshots would be helpful here—show the download page and the installation wizard on the Local WP site. Label it with alt text like “Downloading Local WP for WordPress local development.”
Step 2: Create a New WordPress Site
When you open Local WP, you’ll see an option to create a new site. Just follow these simple steps:
Click “Create a New Site,” enter your site name, pick your preferred environment, then click “Continue.”
Local WP handles everything else—PHP, MySQL, and the web server. It makes setting up a site way easier because you don’t have to do any manual configurations.
You could add a screenshot of the “Create New Site” screen with alt text like “Creating a new WordPress website in Local WP.”
Step 3: Set Up WordPress Administrator Credentials
Next, set up your WordPress login info. Enter a username, password, and email address.
For example:
Username: admin
Password: StrongPassword123
Email: admin@example.com
Then, click Add Site and wait for it to install.
It’ll take just a minute, and WordPress will be good to go on your computer.
Screenshot suggestion: Use one of the credentials setup screen.
Alt Text: Creating WordPress admin account.
Step 4: Access Your Local WordPress Dashboard
After installation, Local WP provides two important buttons:
Open Site
This launches the front-end website.
Example:
http://mywordpressproject.local
WP Admin
This opens the WordPress dashboard.
Example:
http://mywordpressproject.local/wp-admin
Log in using the credentials you created earlier.
You now have a fully functional WordPress website running locally.
Step 5: Install Themes and Plugins
Now comes the fun part.
You can install:
- Premium themes
- Free themes
- Custom plugins
- Development plugins
Navigate to:
Appearance → Themes
or
Plugins → Add New
Because the website is running locally, you can experiment freely without affecting real users.
Example Use Cases
- Testing Elementor layouts
- Building WooCommerce stores
- Creating custom themes
- Learning plugin development
Step 6: Enable SSL for Local Development
Modern websites use HTTPS, and Local WP makes SSL activation simple.
Steps
- Open your site in Local WP.
- Click SSL.
- Select Trust.
Your local site will now run on HTTPS.
Example:
https://mywordpressproject.local
Why SSL Matters
SSL helps you:
- Test secure website functionality
- Simulate production environments
- Avoid mixed-content errors
Screenshot Suggestion
Insert Screenshot: SSL activation panel in Local WP.
Alt Text: Enabling SSL for local WordPress development.
Step 7: Test Custom Code Safely
One major advantage of local development is the ability to test code without breaking a live website.
For example, you can modify your theme’s functions file.
Sample Code Snippet
function custom_footer_text() {
    echo "Welcome to My WordPress Website";
}
add_action('wp_footer', 'custom_footer_text');
If an error occurs, only your local site is affected.
This makes learning WordPress development significantly less stressful.
Step 8: Create Website Backups
Even local projects should be backed up.
You can use plugins such as:
- UpdraftPlus
- Duplicator
- All-in-One WP Migration
These tools help you:
- Save development progress
- Transfer websites to hosting servers
- Restore previous versions
Example Workflow
Local Development
        ↓
Create Backup
        ↓
Upload to Live Hosting
        ↓
Launch Website
Step 9: Push Your Website to Live Hosting
Once development is complete, it’s time to move your site online.
Most migration plugins allow you to export your website and import it directly into your hosting account.
General Migration Process
- Export local website.
- Purchase hosting.
- Install WordPress on hosting.
- Import backup.
- Update domain settings.
- Test functionality.
This workflow saves time and reduces deployment issues.
Common Problems and Solutions
WordPress Site Won’t Start
Solution:
- Restart Local WP
- Check if ports are occupied
- Reboot your computer
Database Connection Errors
Solution:
- Verify MySQL service is running
- Recreate the site if necessary
Plugin Conflicts
Solution:
- Disable plugins one by one
- Identify the conflicting plugin
SSL Errors
Solution:
- Re-trust SSL certificates inside Local WP
Best Practices for Local WordPress Development
To maintain an efficient workflow:
Use Version Control
Git helps track changes and collaborate with teams.
Keep Plugins Updated
Testing outdated plugins can create unnecessary issues.
Use Staging Before Production
Even after local testing, a staging environment provides an additional safety layer.
Organize Project Files
Use clear naming conventions for:
- Themes
- Plugins
- Media assets
- Backup files
Document Changes
Maintain a changelog for future reference.
Why Local WP Is the Best Choice for Beginners
Many developers start with XAMPP or WAMP, but Local WP significantly reduces setup time.
Advantages include:
- No manual server configuration
- Automatic WordPress installation
- Built-in SSL support
- User-friendly dashboard
- Faster development workflow
For beginners, this simplicity removes technical barriers and allows greater focus on learning WordPress itself.
Conclusion
Setting up a local WordPress development environment is one of the smartest steps you can take as a website owner, freelancer, or developer. Instead of experimenting on a live website, you gain a safe workspace where you can test themes, plugins, design changes, and custom code without any risk.
Using free tools such as Local WP, XAMPP, WAMP, or MAMP makes it possible to build professional WordPress websites without spending money on hosting during the development phase. Among these options, Local WP stands out because of its beginner-friendly interface and one-click WordPress installation process.
By following the steps outlined in this guide, you’ll have a fully functional WordPress environment running on your computer and be ready to build, test, and launch websites more confidently.
Ready to Start Building?
Download Local WP today, create your first local WordPress site, and begin experimenting with themes, plugins, and custom features. The more you practice in a local environment, the faster you’ll become a skilled WordPress developer. If you’re planning to launch a website soon, set up your local environment now and start building with confidence.