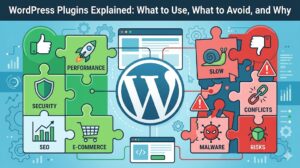
For those running a WordPress website, security should be a top priority, even if you just own a small site, since every day hackers are trying to exploit them. The good news is that you don’t need a costly software solution in order to protect yourself.
This article will show you how to protect your WordPress website using the Wordfence Security free version.
Why You Need a WordPress Security Plugin
WordPress is powerful, but it’s also a common target.
Common threats:
- Brute force login attacks
- Malware injections
- Spam bots
- Vulnerable plugins/themes
* Without protection, your site is exposed 24/7.
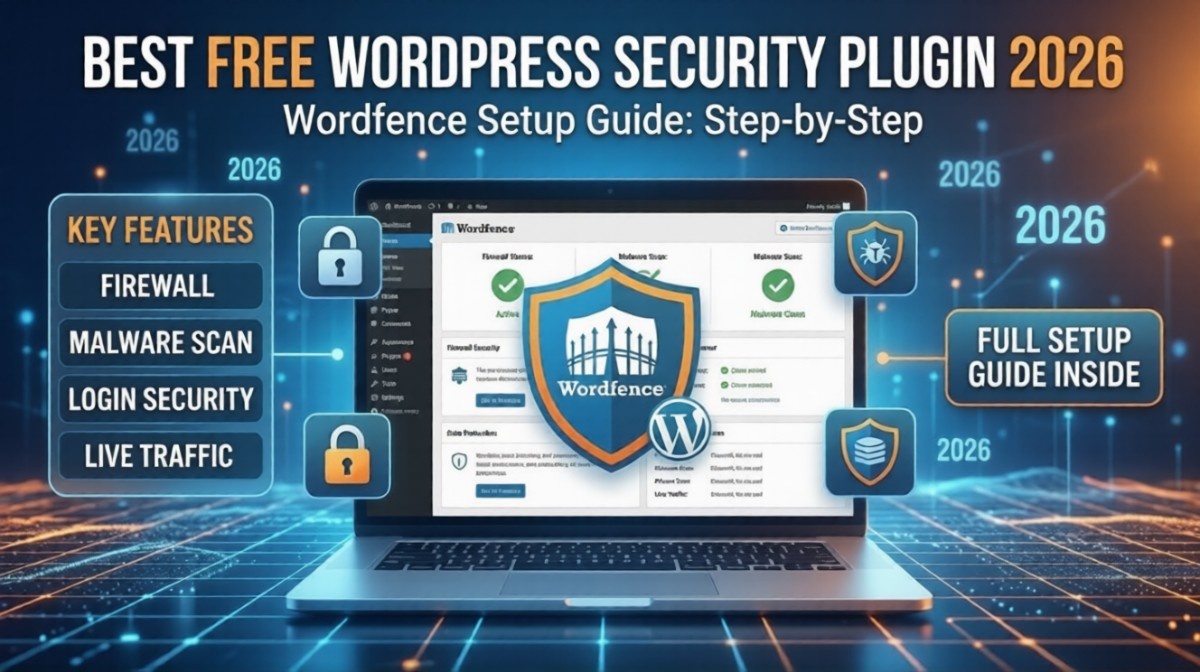
Why Choose Wordfence Security?
There are many plugins out there, but Wordfence stands out—especially for free users.
What makes it powerful:
- Built-in firewall
- Malware scanner
- Login protection
- Real-time traffic monitoring
* It’s one of the most complete free security tools available.
Step 1: Install Wordfence Security Plugin
How to install:
- Go to WordPress Dashboard
- Navigate to Plugins → Add New
- Search for “Wordfence Security”
- Click Install → Activate
* Once activated, you’ll see a new Wordfence menu in your dashboard.
Step 2: Run Your First Security Scan
This is where you check if your site is already compromised.
How to do it:
- Go to Wordfence → Scan
- Click Start New Scan
* The plugin will scan:
- Core files
- Themes
- Plugins
- Malware signatures
Example Scan Result
No malware found
1 outdated plugin detected
* Fix issues immediately if anything is flagged.
Step 3: Enable Firewall Protection
The firewall blocks malicious traffic before it reaches your site.
How to enable:
- Go to Wordfence → Firewall
- Click Optimize Firewall
* This improves protection significantly.
Step 4: Secure Your Login Page
Brute force attacks target your login page.
Configure:
- Limit login attempts
- Enable reCAPTCHA
- Turn on 2FA (Two-Factor Authentication)
Example:
define('WP_FAIL2BAN_BLOCK_USER', true);* This prevents repeated login attempts.
Step 5: Enable Email Alerts
Stay informed about suspicious activity.
Set alerts for:
- Failed logins
- File changes
- Admin access
* Don’t ignore alerts—they’re early warning signs.
Step 6: Block Malicious IPs
Wordfence automatically detects harmful traffic.
You can:
- Block IP addresses
- Block entire countries (if needed)
* This reduces unnecessary server load.
Step 7: Monitor Live Traffic
This feature shows what’s happening on your site in real time.
You can see:
- Bots visiting your site
- Login attempts
- Suspicious activity
* Helps you understand threats better.
Step 8: Keep Everything Updated
Security isn’t “set and forget.”
Always update:
- WordPress core
- Plugins
- Themes
* Outdated software is the #1 cause of hacks.
Real-World Example
Before Setup:
- Multiple failed login attempts
- No protection
After Wordfence:
- Attacks blocked
- Login secured
- Real-time alerts enabled
* Result: A safer, more stable website.
Common Mistakes to Avoid
- Not enabling firewall optimization
- Ignoring scan results
- Weak admin passwords
- Too many unused plugins
* Security is only effective if configured properly.
FAQ
Is Wordfence free enough?
Yes, the free version provides strong protection for most sites.
Does Wordfence slow down my site?
Minimal impact if configured correctly.
How often should I scan my site?
At least once a week (or automate daily scans).
Summary
Using Wordfence Security, you can:
- Protect your site from attacks
- Detect malware early
- Secure your login system
Key takeaway:
* Even basic setup dramatically improves security.
What Should You Do Next? (CTA)
Don’t wait until your site gets hacked.
Start now:
- Install Wordfence
- Run your first scan
- Enable firewall + login protection
* It takes less than 15 minutes to secure your site.